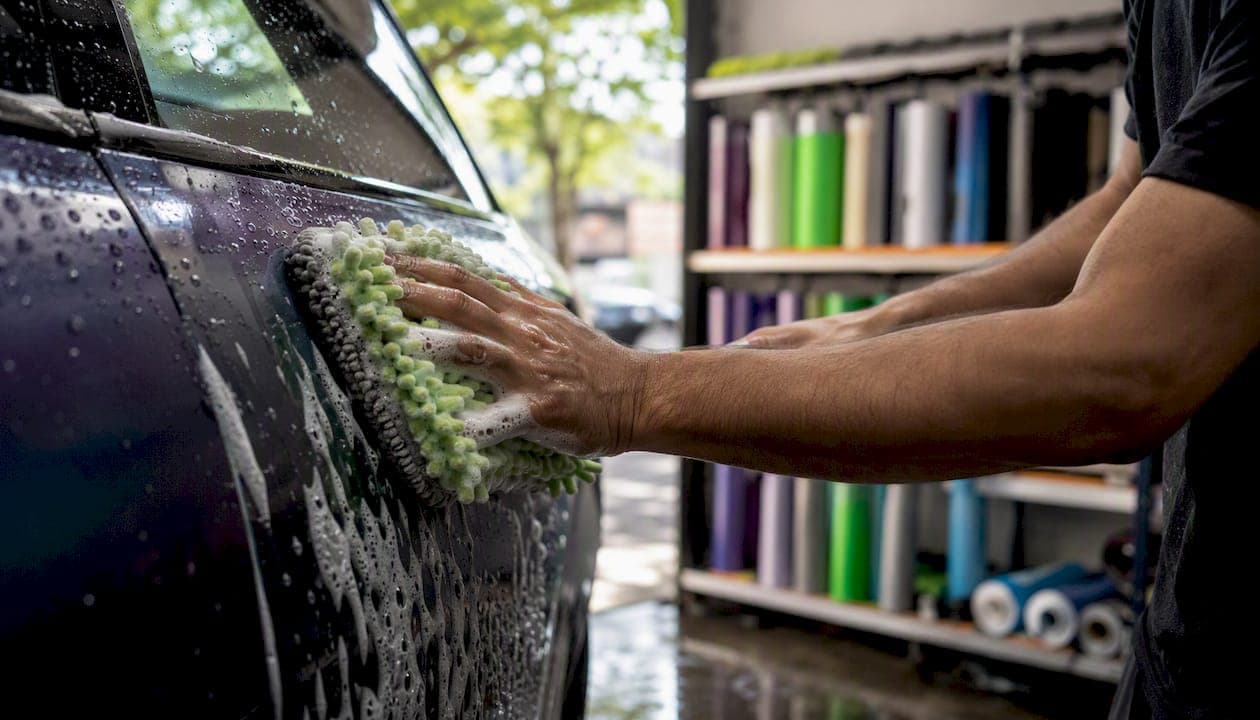
The fastest way to keep a vinyl wrap looking new is a simple routine: hand-wash with a pH-neutral shampoo at least every two weeks, treat contaminants the moment they land, and never run the car through a brush-style automated wash. That's it. 3M's maintenance guidance adds one critical rule before any of that: wait at least 72 hours after installation before the first wash. Avery Dennison's care bulletin reinforces the two-week wash cadence and the two-bucket, pH-neutral method as the industry standard.
Three things to lock in from the start:
- Wash schedule: hand-wash regularly, more often if you drive in harsh conditions such as salt, mud, or heavy traffic.
- Spot treatment: bird droppings, tree sap, fuel, and tar need to come off within hours, not days.
- Automated washes: touchless only. Rotating brushes scratch the film and lift edges.
Pro Tip: If your wrap was just installed, resist the urge to wash it even if it looks dusty. The adhesive needs that 72-hour window to fully bond. Washing too soon can cause edge lifting that voids your installer's warranty.
Key Takeaways
Consistent, gentle care is what separates a wrap that looks great at year five from one that's fading by year three.
| Point | Details |
|---|---|
| Wait before washing | Hold off for at least 72 hours after installation before the first wash. |
| Hand-wash every two weeks | Use the two-bucket method with a pH-neutral shampoo; weekly in harsh conditions. |
| Spot-treat immediately | Bird droppings, sap, and fuel spills need attention within hours, not days. |
| Avoid brush car washes | Touchless washes are acceptable; rotating brushes scratch film and lift edges. |
| Protect with a coating | Apply a wrap-safe sealant or ceramic coating every 3–6 months to extend life. |
| Call a pro for serious issues | Edge lifting, seam failure, or suspected paint damage require an installer, not a home fix. |
| Tintandwrapscustoms | Professional wrap services in Van Nuys with climate-controlled installs and manufacturer-backed warranties. |
Table of Contents
- What does a good wrap maintenance schedule look like?
- How to hand-wash a wrapped car the right way
- Are automated car washes and pressure washers safe for wraps?
- How to treat bird droppings, sap, tar, and fuel spills
- What products are safe for wraps, and what should you avoid?
- How parking habits and UV exposure affect wrap lifespan
- When should you call your installer?
- Safe removal and planning a rewrap
- What the field actually teaches you about wrap care
- Professional wrap services when you'd rather leave it to a shop
- Sources
What does a good wrap maintenance schedule look like?
Consistency beats intensity every time with vinyl care. A wrap that gets gentle attention on a regular schedule will outlast one that gets a deep clean twice a year.
| Frequency | Task |
|---|---|
| Daily | Quick visual scan for fresh contaminants, edge lifting, or bubbling |
| Immediately | Rinse or spot-treat bird droppings, sap, fuel spills, or tar |
| Every 2 weeks | Full two-bucket hand-wash with pH-neutral shampoo |
| Every 3–6 months | Apply a wrap-safe sealant or ceramic coating topcoat |
Here's how to build that into a real routine:
- Every morning, take 30 seconds. Walk around the car and check for anything that landed overnight: bird droppings, tree sap, or pollen buildup near seams and edges.
- Rinse contaminants immediately. Don't let anything acidic or petroleum-based sit. A quick rinse with clean water buys time until you can do a proper spot treatment.
- Hand-wash on a set day. Pick one day every two weeks and treat it like an appointment. If you drive on salted roads, park near construction, or commute on dusty highways, move that to weekly.
- Recoat every season. A wrap-safe sealant or ceramic topcoat applied every 3–6 months adds a hydrophobic layer that makes the next wash faster and easier. The exact interval depends on the product and how much sun exposure the vehicle gets.
How to hand-wash a wrapped car the right way
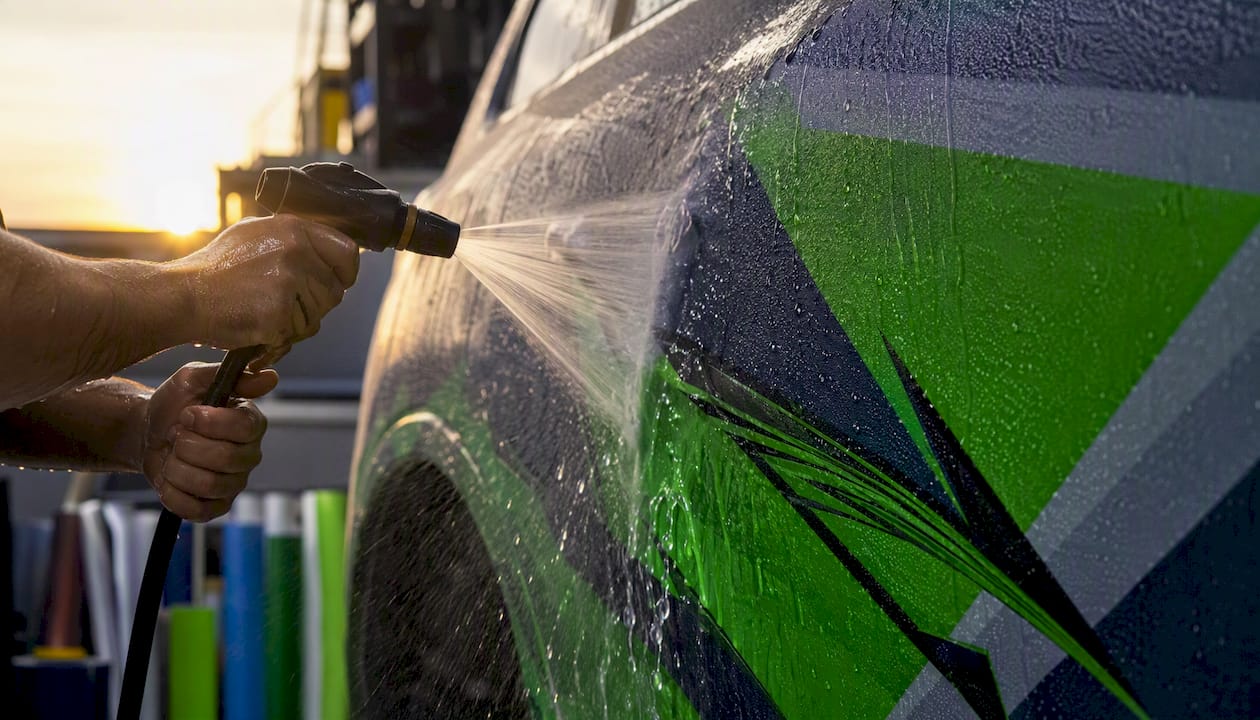
Two-bucket hand-washing with a pH-neutral automotive shampoo is the method every major manufacturer recommends. It's not complicated, but the details matter.
What you need:
- Two buckets (one for wash solution, one for clean rinse water)
- pH-neutral automotive shampoo (pH 5–9 range; products like Meguiar's NXT Generation Car Wash or a wrap-specific shampoo work well)
- Soft microfiber wash mitt
- Soft silicone squeegee
- Several clean microfiber drying towels
- A shaded area or a cool, overcast day
Step-by-step:
- Pre-rinse the entire vehicle with low-pressure water, top to bottom, to knock off loose dirt and grit before the mitt touches the surface.
- Mix your shampoo in the wash bucket per the product's dilution ratio. Fill the second bucket with plain rinse water only.
- Wash top to bottom in straight, overlapping strokes. Never scrub in circles on a wrap — circular motion concentrates pressure on one spot and can dull the finish, especially on matte films.
- Rinse the mitt in the clean-water bucket after every panel. This is the whole point of the two-bucket method: you're not dragging grit back onto the film.
- Rinse the car thoroughly with low-pressure water before the soap dries.
- Squeegee off standing water immediately, then follow with a clean microfiber towel. Avery Dennison's care instructions specifically call for drying in a shaded area to prevent hard-water spotting and chlorine stains from tap water sitting on the film.
Pro Tip: Around trim pieces, door handles, and seam edges, use lighter pressure and shorter strokes. Adhesive-sensitive areas near edges are where lifting starts. A gentle touch there adds months to the wrap's life.
Are automated car washes and pressure washers safe for wraps?
Automated car washes
Touchless washes are acceptable. Brush-style or rotating-brush car washes are not. The brushes scratch the film surface, dull matte finishes, and create mechanical stress at edges that eventually causes lifting. Avery Dennison's bulletin explicitly warns against brush contact. If you use a touchless wash, avoid any cycle that includes hot wax or aggressive chemical treatments, since those formulas can attack wrap adhesives.
Pressure washing: the exact limits
Pressure washing is allowed, but only within tight parameters. Manufacturer guidance from 3M and KPMF converges on the same numbers:
| Parameter | Safe Limit |
|---|---|
| Maximum pressure | 1,200 psi |
| Water temperature | Below 140°F (60°C) |
| Nozzle spray angle | 40° wide-angle tip minimum |
| Minimum distance from edges | 12 inches (30 cm) |
| Nozzle angle to surface | Perpendicular — never at an acute angle toward an edge |
Keep the nozzle moving constantly. Holding it in one spot concentrates heat and pressure, which softens the adhesive and creates bubbles. Work top to bottom, stay at least 12 inches from any seam or edge, and never angle the spray under a lifted edge — that turns a small problem into a full panel failure.
When is a pressure washer actually the right call? Only when hand-washing hasn't shifted a stubborn contaminant like road tar or heavy mud, and only after you've confirmed the wrap has no pre-existing edge lifting. If edges are already compromised, hand-wash only until the installer can inspect it.
How to treat bird droppings, sap, tar, and fuel spills
Speed is the variable that separates a clean removal from a permanent stain. Bird droppings are acidic enough to begin etching vinyl within hours. Fuel spills can attack adhesive almost immediately.
- Rinse first. Flood the contaminated area with clean water to dilute and soften the deposit before you touch it.
- Soak with warm, soapy water. Lay a damp microfiber cloth soaked in warm pH-neutral shampoo solution over the spot for 5–10 minutes. This softens the residue without mechanical scrubbing.
- Lift gently. Use a clean microfiber towel and light, straight-line pressure. Never scrape with a fingernail, plastic card, or any rigid tool.
- For stubborn residue: isopropyl alcohol diluted to a 50/50 ratio with water can be used sparingly, per 3M's guidance. Always test in a hidden area first — a door jamb or under a mirror — and limit contact time to under 30 seconds before rinsing.
- Rinse and dry completely after any solvent contact.
Products and actions to avoid: petroleum distillates, engine degreasers, acetone, brake cleaner, and any abrasive scrubbing pad. KPMF's aftercare guide specifically flags solvents and abrasive cleaners as causes of rapid film discoloration and adhesive failure.
Pro Tip: Keep a small spray bottle of diluted isopropyl alcohol and a few microfiber cloths in your car. A fuel spill at the pump takes 60 seconds to wipe off safely. Left until you get home, it can result in a panel replacement.
If you notice color change, bubbling, or edge lifting after a contamination event, stop home treatment immediately. That's a job for your installer, not another round of cleaning.
What products are safe for wraps, and what should you avoid?
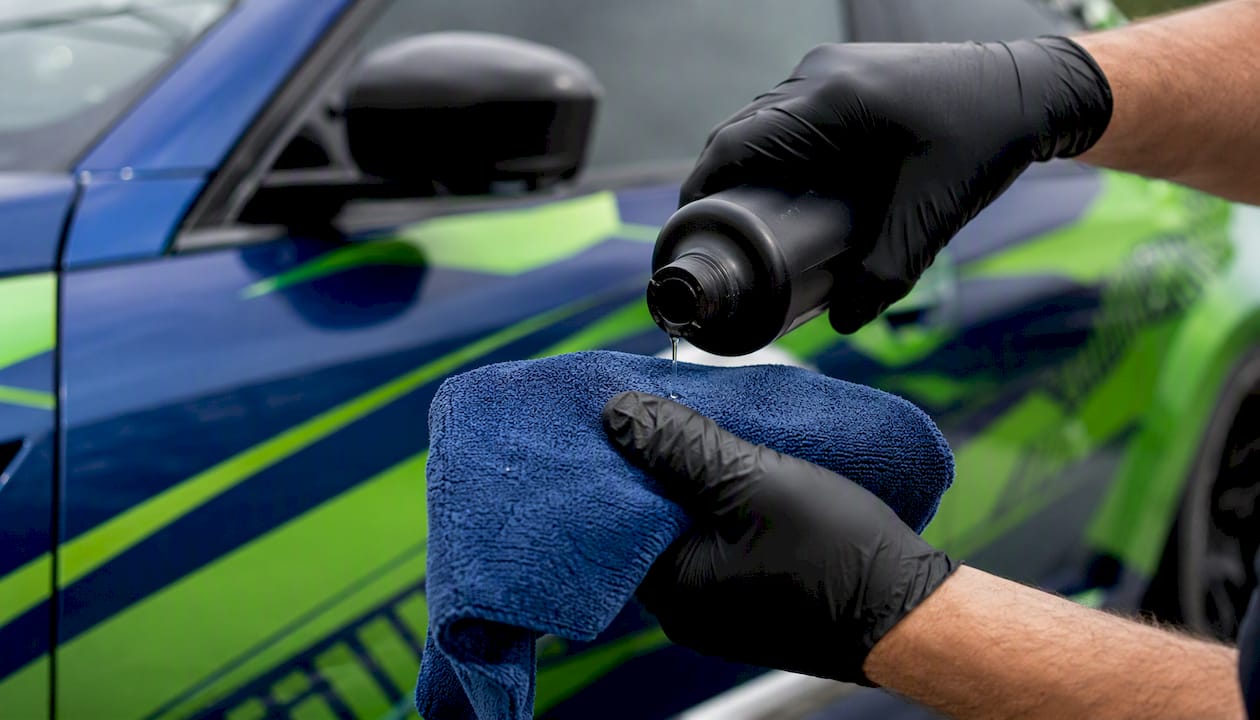
Safe product attributes
Any product you put on a vinyl wrap should meet three criteria: pH-neutral (pH 5–9), free of petroleum distillates, and free of abrasive particles. Beyond routine shampoo, two product categories add real protective value.
Sealants designed for vinyl create a thin protective layer that repels water and makes contaminants easier to remove. Avery Dennison's Supreme Wrap Care line includes a dedicated sealant formulated for this purpose.
Ceramic coatings go further. A ceramic coating formulated for vinyl adds hydrophobicity and UV defense that can meaningfully extend the wrap's useful life and reduce how often you need to scrub off contaminants. The coating must be explicitly rated for vinyl, not just for paint, and it must be matched to your finish type. Understanding ceramic coating costs upfront helps you plan whether adding one to your wrap makes financial sense.
Matte vs. gloss: the rules change
Gloss wraps tolerate a wider range of products, including some spray detailers like Meguiar's quick-detail sprays, as long as they're non-abrasive and pH-neutral.
Matte and satin finishes are less forgiving. Waxes and gloss-enhancing products will fill in the microscopic texture that creates the matte look, leaving shiny patches that can't be reversed. Use only matte-specific sealants or coatings. KPMF's aftercare guide addresses this directly, recommending finish-specific products and warning against anything designed to add shine. For matte Tesla owners, the matte PPF guide covers finish-specific care in more detail.
| Product Type | Gloss Wrap | Matte/Satin Wrap |
|---|---|---|
| pH-neutral shampoo | ✅ Safe | ✅ Safe |
| Spray detailer (non-abrasive) | ✅ Safe | ⚠️ Check label — gloss-enhancing formulas not safe |
| Carnauba wax | ❌ Not recommended | ❌ Avoid |
| Gloss-enhancing polish | ❌ Not recommended | ❌ Avoid |
| Vinyl-specific sealant | ✅ Safe | ✅ Use matte-specific version |
| Ceramic coating (vinyl-rated) | ✅ Safe | ✅ Use matte-rated version |
| Petroleum distillates / solvents | ❌ Avoid | ❌ Avoid |
Pro Tip: When in doubt about a product, check the label for "safe for vinyl wraps" or "matte-safe." If neither appears, don't use it. The cost of a wrong product is a panel replacement, not just a re-wash.
How parking habits and UV exposure affect wrap lifespan
A well-maintained wrap typically lasts 3–7 years. Where and how you park is one of the biggest variables in where on that range your wrap lands.
- Park in shade whenever possible. Prolonged direct UV exposure fades pigment, dries out the film, and accelerates edge lifting. A covered garage or carport adds years to a wrap's life.
- Use a breathable car cover if outdoor storage is unavoidable. Non-breathable covers trap moisture and heat, which can cause adhesive issues and mold under the film.
- Avoid parking under trees for extended periods. Sap and bird droppings accumulate faster, and the shade benefit is outweighed by the contamination risk.
- Climate-controlled storage during winter months, if accessible, is the single best thing you can do for a wrap in a region with road salt.
A wrap that's garaged, washed regularly, and coated with a UV-blocking ceramic sealant can reach the top of that 3–7 year range. One that sits in direct sun, gets washed infrequently, and never sees a protective coating often shows degradation by year three.
Signs the wrap is past the point of maintenance: brown or rust-colored discoloration that doesn't wash off, irreversible color shift across a panel, or widespread bubbling that isn't heat-related. At that stage, continued cleaning won't help. A partial panel replacement or full rewrap is the only path forward.
When should you call your installer?
Some problems are maintenance issues. Others are installer issues. Knowing the difference saves you money and prevents accidental damage.
Call your installer when you see:
- Edge lifting that doesn't lie flat after gentle heat from a hair dryer
- Seam separation or adhesive creep (adhesive visible outside the film edge)
- Bubbling that persists after the vehicle has cooled
- Any suspected paint damage beneath the film
- Color change or staining that doesn't respond to proper spot treatment
What a quality shop should provide:
- Climate-controlled installation and removal. Temperature and humidity affect adhesive behavior during both application and removal. A shop without climate control is taking a shortcut that shows up later.
- Manufacturer-backed warranty documentation. Ask for it in writing. Know whether the warranty covers material defects, installation defects, or both.
- Heat-and-steam removal technique. Proper removal uses a heat gun or steamer to soften the adhesive before peeling. Cold removal tears the film and risks pulling paint.
- Documented cure windows. A professional shop tells you exactly when you can wash, park in sun, and apply a topcoat after installation.
Questions to ask before booking a repair:
- Does the warranty cover this type of damage?
- Will you repair the affected panel or replace it?
- What film brand and grade will you use for the repair?
- What's the expected turnaround?
Pro Tip: If your wrap is still within the installer's warranty period, contact them before attempting any home repair. Even a well-intentioned fix can void coverage if it's not performed by the shop.
Safe removal and planning a rewrap
Professional removal is the right call for most owners. The 3M guidance is clear: use heat or steam, peel at a 30–60° angle, and work slowly. Rushing or pulling at a sharp angle risks lifting paint, especially on older vehicles or those with repainted panels.
- Partial panel replacement makes sense when damage or fading is localized to one or two panels and the rest of the wrap is in good condition. It's faster and less expensive than a full rewrap, and color-matching is usually achievable with the same film line.
- Full rewrap is the better choice when the film is degrading across multiple panels, when the vehicle's color-change direction is shifting, or when the original wrap is more than five years old.
- Timing matters for reinstallation. After removal, the paint should be inspected and corrected if needed before new film goes on. Rushing into a new wrap over compromised paint creates the same problems faster.
Pro Tip: Never attempt DIY removal on a wrap that's been on the vehicle for more than three years without testing a small section first. Older adhesive can bond more aggressively to the paint, and the risk of pulling clear coat increases significantly.
What the field actually teaches you about wrap care
The most common failure mode isn't dramatic. It's not a pressure washer set too high or a solvent spill. It's neglect: a wrap that gets washed four times a year, never sees a sealant, and parks in direct sun every day. By year three, the edges are lifting, the color has shifted unevenly, and the owner is convinced they got a bad wrap. Usually, they got a good wrap and gave it no support.
The second most common mistake is using the wrong product with good intentions. Someone reads that isopropyl alcohol is acceptable for stubborn stains, skips the dilution step, and applies it full-strength. Or they wax a matte finish because it looks dull. Both are fixable early; neither is fixable after the film has reacted.
What well-maintained wraps have in common is simple: the owner treats the film the way the manufacturer says to, not the way they'd treat painted metal. Vinyl is a different material with different chemistry. The PPF vs. vinyl wrap comparison covers why the two materials behave differently and why their care requirements diverge.
At Tintandwrapscustoms, the installs that hold up best over time are the ones where the owner leaves with a clear maintenance plan and follows it. Climate-controlled installation removes one variable. Manufacturer-backed warranties cover another. The rest is consistent care on the owner's end. When something goes wrong, the right call is always to contact a certified installer before attempting a repair that could complicate the fix.
Professional wrap services when you'd rather leave it to a shop
Your wrap's condition directly affects your vehicle's value and appearance. If the maintenance routine feels like too much to manage alone, or if you're dealing with edge lifting, staining, or a wrap that's ready to come off, Tintandwrapscustoms handles all of it from a climate-controlled facility in Van Nuys.
Services relevant to wrap owners include full and partial wrap installation and replacement, spot repairs, professional removal using heat-and-steam technique, and ceramic coating application matched to your finish type. Every job comes with manufacturer-backed warranty documentation and a clear post-install care window so you know exactly what to do and when. The ceramic coating warranty guide explains what that coverage actually includes.
Book an inspection at Tintandwrapscustoms to get a professional assessment of your wrap's current condition and a clear recommendation on whether maintenance, repair, or replacement is the right next step.
Sources
The numeric limits and product guidance in this article come directly from manufacturer technical documents. These are the primary sources to check when you need the exact specification for your film brand.
- IB1.50 Cleaning and Maintenance for Vehicle Wraps (Avery Dennison)
- 3M™ Protection Wrap Film: Vehicle Maintenance FAQ (Revision A, April 2024)
- WI 509 - Vinyl Wrapping System - Aftercare Guide - Issue 1 (KPMF)
The pressure-wash limits across 3M and KPMF documentation align closely: stay below 1,200 psi, use a 40° wide-angle nozzle, keep at least 12 inches from edges, and keep water temperature under 140°F. When in doubt, use the more conservative figure.