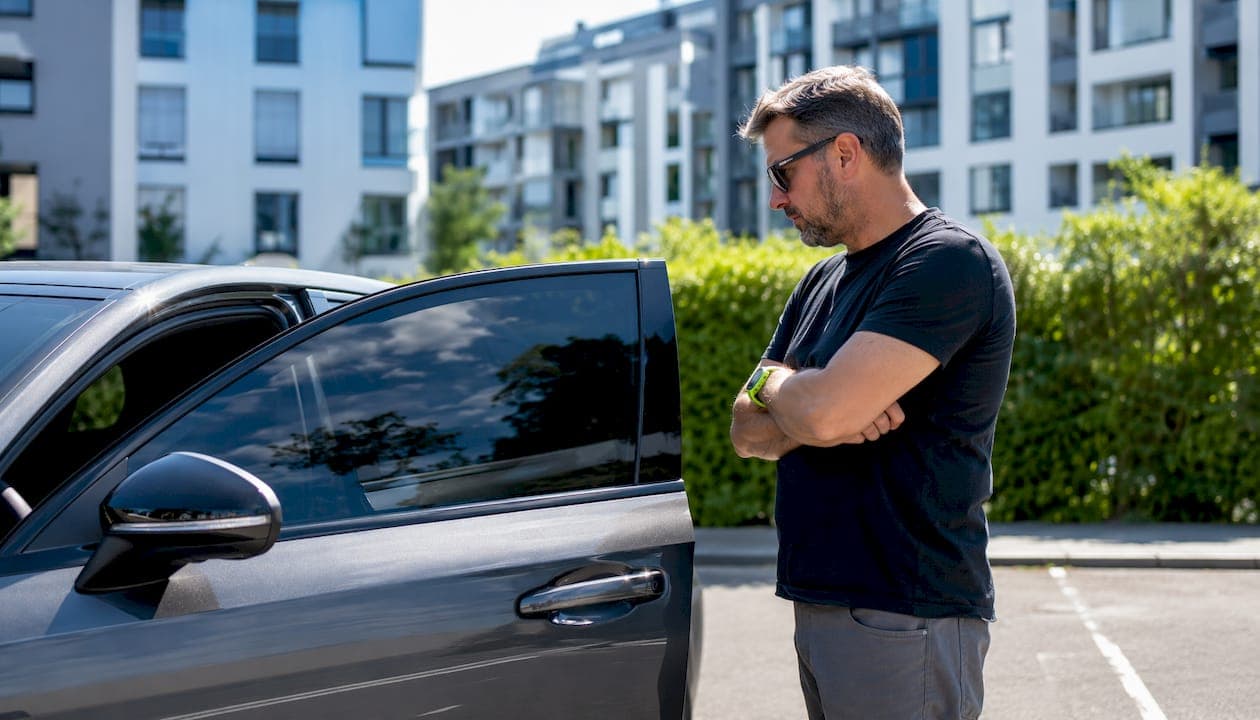
Most window tint takes 3 to 7 days to fully cure under typical conditions. In cold or humid weather, that window can stretch to two weeks or more. The single most important rule: keep your windows up for several days after installation, and hold off on cleaning the interior glass for about a week.
Quick rules of thumb before you drive away from the shop:
- Keep windows fully up for several days after installation.
- Avoid cleaning interior glass for about a week or more after installation.
- No suction cup devices (phone mounts, GPS holders) on freshly tinted glass for at least a few days.
- Skip automated car washes during the early cure period.
- Cold or humid climate? Add extra time to every estimate above.
The film may look perfectly clear by day two. That does not mean the adhesive has finished bonding. Those are two different things, and confusing them is how most tint jobs get ruined.
Table of Contents
- Why the adhesive bond matters more than how the film looks
- How cure time changes by climate, film type, and window use
- What actually changes your curing timeline
- How to tell normal curing signs from real damage
- Step-by-step aftercare during the cure period
- Realistic ways to help the cure finish faster
- Why a climate-controlled install reduces cure problems
- Key Takeaways
- The mistake most people make on day two
- Tintandwrapscustoms: climate-controlled installs with warranty coverage
- Useful sources and further reading
Why the adhesive bond matters more than how the film looks
Surface drying and adhesive curing are not the same process. When a tint installer lays film, a water-based solution sits between the film and the glass. That moisture evaporates through the film over time, and as it does, the pressure-sensitive adhesive bonds to the glass at a molecular level. The film can feel dry and look clear while that bond is still weak.
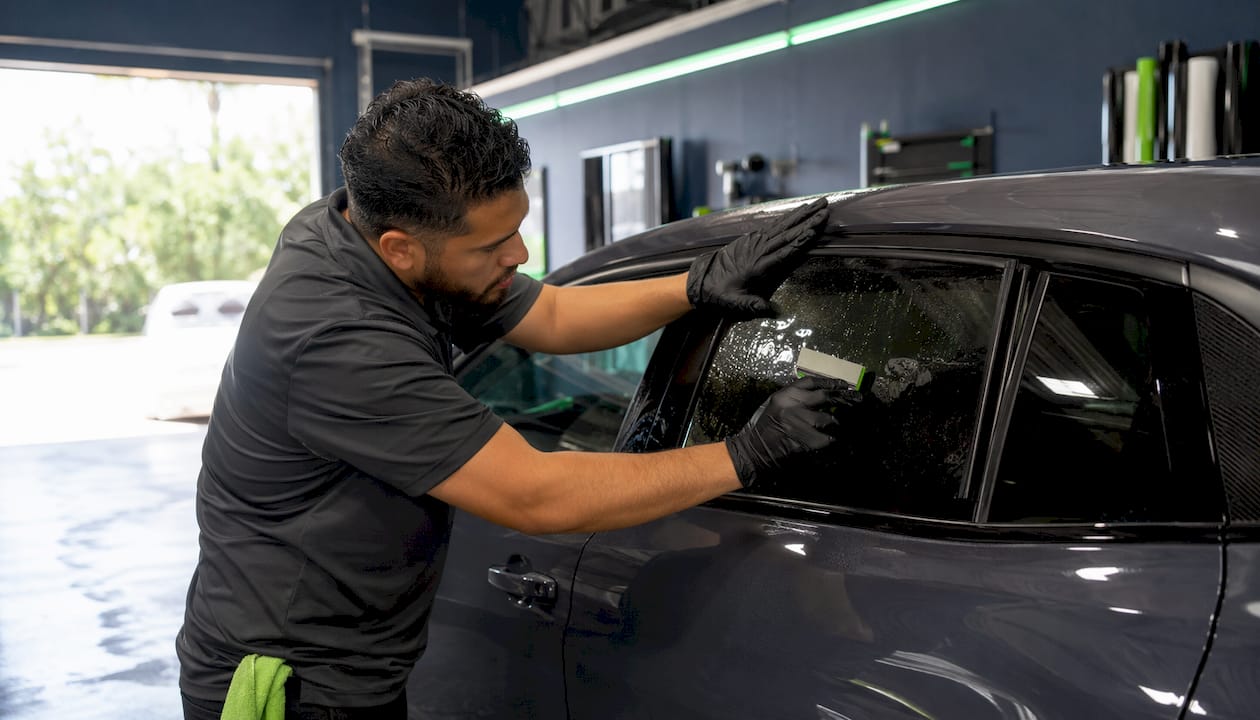
Rolling a window down before the adhesive has set pulls the film edge away from the glass. Once that edge starts to lift, it almost never lies flat again. A full re-tint is usually the only fix.
Pro Tip: If your installer gives you a specific wait time, follow it over any generic guide. Adhesive formulations and film constructions vary by manufacturer, and installer guidance overrides general rules every time.
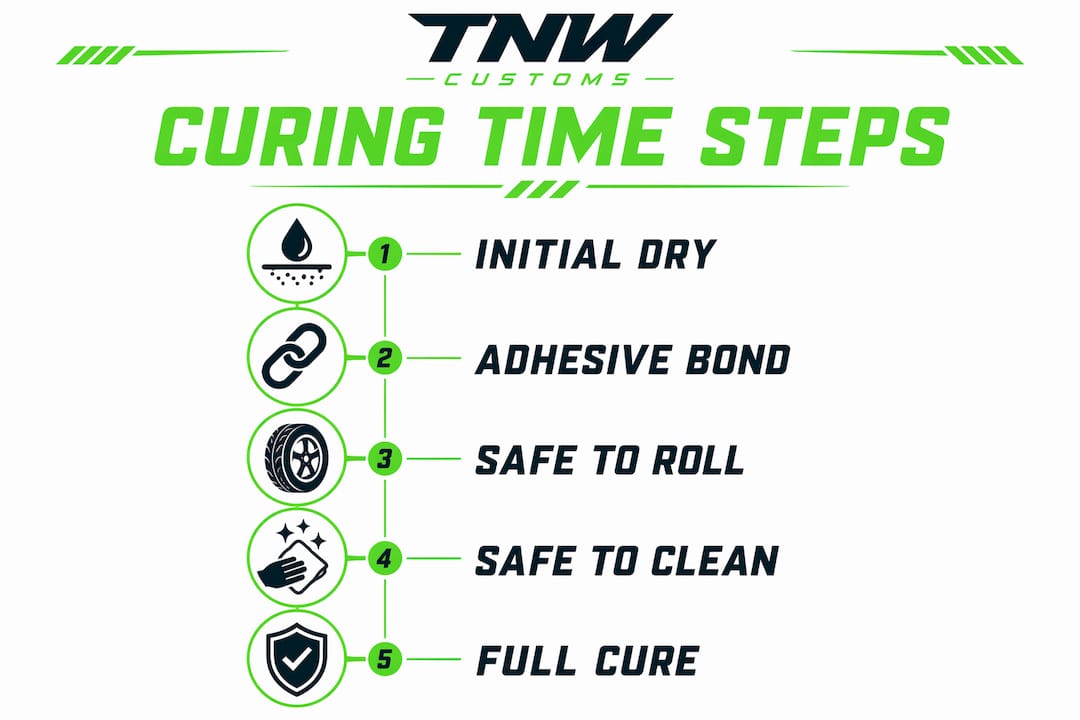
How cure time changes by climate, film type, and window use
The table below maps common conditions to realistic wait windows. These are practical ranges, not guarantees.
By climate and season
| Climate / Condition | Typical full cure | Safe to roll windows | Safe to clean interior |
|---|---|---|---|
| Warm and dry (warm temperatures, low humidity) | 3–7 days | After 3–5 days | About a week |
| Moderate (mild temperatures, average humidity) | 5–10 days | After 5–7 days | Around one to two weeks |
| Cold or humid (cool temperatures or high humidity) | Up to two weeks or more | After about 7–10 days | One to two weeks or longer |
| Winter / overcast (prolonged cold) | Two weeks or longer | After extended waiting | After extended waiting |
By film type
| Film type | Typical cure range |
|---|---|
| Dyed film | 2–3 days |
| Carbon film | 3–5 days |
| Ceramic film | 5–7 days |
| Multi-layer / safety film | 7+ days |
Ceramic and multi-layer films use thicker constructions and advanced adhesives that simply need more time. A dyed film that looks finished in two days and a ceramic film that still shows faint haze on day four are both behaving normally.
One source notes that winter conditions can stretch a job that cures within one week in summer to 2–5 weeks in winter, a 300–500% increase in cure time.
What actually changes your curing timeline
Several variables push cure time shorter or longer. Knowing which ones apply to your situation helps you decide whether to wait a few extra days.
Temperature is the biggest lever. Ideal curing happens between roughly 65–90°F. Drop below 60°F and the adhesive stays wet much longer. Combine cold with high humidity and a 5-day job can easily become a 14-day job.
Humidity slows evaporation. The moisture trapped between film and glass has nowhere to go when the air is already saturated. This is why the same film cures faster in Phoenix in July than in Seattle in November.
Film thickness and type matter because thicker constructions and premium adhesive systems take longer to complete their bond, as shown in the table above.
Installation quality plays a bigger role than most people expect. Thorough surface prep, correct squeegee technique, and responsible heat use during install reduce trapped moisture and set the adhesive up for a clean cure. A rushed install leaves more water behind.
Frameless windows on EVs add a specific risk. On many electric vehicles, the door-open sequence slightly lowers the glass. During the critical first 72 hours, that small movement can disturb the bottom film edge before the adhesive has set. EV owners should be especially careful about opening doors repeatedly in the first three days.
Parking and storage round out the list. A climate-controlled garage gives stable conditions but slightly slower cure than direct sun. Outdoor parking in moderate sun is actually helpful, with one important caveat covered in the speed-cure section below.
How to tell normal curing signs from real damage
This is where a lot of vehicle owners panic unnecessarily, or wait too long when something actually needs attention.
Normal during curing:
- Faint haze or milky appearance in the first 1–4 days
- Small water pockets or bubbles that appear to move or shrink over time
- Slight streaking that fades as moisture evaporates
- Edges that look slightly raised but lie flat when pressed gently
Haze and small water pockets are a standard part of the water-based installation process. They will resolve on their own as moisture works its way through the film.
Signs that something is wrong:
- Bubbles that grow larger after day 7 rather than shrinking
- Edge lifting that does not flatten when you press it
- Persistent large pockets that show no change after two weeks in warm weather
- Peeling corners or film separating from the glass surface
If it has been more than 14 days in warm weather and you still see significant bubbling or peeling edges, call your installer. A shop that stands behind its work will take a look.
Pro Tip: Do not try to pop bubbles or press them flat with your fingernail. Any mechanical pressure on uncured film risks permanent distortion. Observe, wait, and only contact the installer if the problem persists past the expected cure window.
Step-by-step aftercare during the cure period
Getting through the cure window without damaging the film comes down to a short list of habits.
Days 0–2 (highest risk window):
- Keep all tinted windows fully closed. No exceptions.
- Do not place any suction cup device on tinted glass. Suction cups create localized pressure and moisture traps that can leave permanent ring-shaped distortions.
- Avoid parking in heavy rain if possible. Water intrusion at the edges can slow the cure.
- For EVs and frameless windows, minimize door openings to reduce automatic glass movement.
Days 3–7:
- Windows can usually be cracked slightly for ventilation after day 3, but avoid rolling them fully down until day 5 at the earliest.
- Still no interior glass cleaning. Microfiber cloths and even light pressure can disturb a partially cured film.
- Park in moderate sun when you can. Gentle warmth helps evaporation without stressing the film.
- Skip automated car washes entirely. The high-pressure jets and brushes are too aggressive for film that has not fully set.
Post-cure cleaning (after day 7–10):
- Use an ammonia-free glass cleaner. Ammonia degrades the adhesive over time and will eventually cause the film to bubble and peel.
- Apply cleaner to a soft microfiber cloth first, not directly to the glass.
- Wipe in straight lines, not circular motions.
- Avoid razor blades, abrasive pads, or any sharp tool near the film edges.
For vinyl application tips that also apply to avoiding adhesive traps during aftercare, the guidance on applying vinyl without pressure errors offers useful parallel principles.
Realistic ways to help the cure finish faster
There are a few things you can do to encourage the process. None of them replace time or correct chemistry, but they do help.
- Park in moderate sun. Direct sunlight at reasonable temperatures speeds evaporation. This is the single most effective thing you can do after leaving the shop.
- Use a warm, dry garage overnight. Stable temperature without humidity swings lets the adhesive cure evenly.
- Keep the cabin ventilated. Cracking a non-tinted window slightly after day 3 helps move air through the interior without stressing the film.
- Avoid humidity spikes. Parking in a damp basement or leaving wet gear inside the car adds moisture to an environment that needs to dry out.
What not to do:
- Do not use a heat gun or hair dryer directly on the film. Concentrated heat can trap moisture rather than release it and may damage the film surface.
- Do not peel at edges to "check" the adhesive. Any disturbance to an uncured edge is likely permanent.
- Do not force the process with aggressive methods. The adhesive chemistry has its own timeline.
"Moderate sun speeds cure; extreme heat or forced drying methods risk trapping moisture or damaging the film. Installers recommend controlled heating during installation rather than aggressive post-install shortcuts." — cm3detail.com
Why a climate-controlled install reduces cure problems
Installing in a climate-controlled environment significantly reduces the risk of surface defects and uneven curing compared with open-air installs. Temperature and humidity swings during installation leave more trapped moisture in the adhesive layer before the film even goes on the glass. A shop that controls those variables from the start gives the adhesive the best possible foundation.
Tintandwrapscustoms operates out of a climate-controlled facility in Van Nuys, CA, which directly addresses the variability that causes most post-install problems. A few specific advantages that matter for cure time:
- Stable temperature during installation means less trapped moisture from the start.
- Controlled humidity prevents the adhesive from staying wet longer than necessary.
- Experience with Tesla and EV frameless windows means the installer accounts for automatic glass movement during the critical first 72 hours.
- Manufacturer-backed warranties cover the film and adhesive, so if something does go wrong after a proper cure period, there is a clear path to resolution.
Over 1,000 vehicles protected in the San Fernando Valley, with a 5-star rating from customers who specifically mention the attention to detail. For vehicle owners who want predictable cure timing and warranty coverage, a controlled-environment install removes most of the variables that extend cure time or cause rework.
Key Takeaways
Window tint curing time is driven by adhesive chemistry, not surface appearance, and most cure problems trace back to rolling windows too soon or skipping the aftercare window.
| Point | Details |
|---|---|
| Typical cure range | Most films cure in 3–7 days; cold or humid conditions extend this to two weeks or more. |
| Safe window operation | Keep windows fully up for at least 3–5 days; follow your installer's specific guidance. |
| Film type matters | Dyed films cure in 2–3 days; ceramic films need 5–7 days; multi-layer safety films need 7+ days. |
| Aftercare essentials | Avoid interior cleaning for about a week; use only ammonia-free cleaner on a microfiber cloth after cure. |
| Tintandwrapscustoms | Climate-controlled installs in Van Nuys reduce cure variability and come with manufacturer-backed warranties. |
The mistake most people make on day two
Here is what actually happens in most re-tint situations: the film looks perfect by day two, the driver rolls the window down to order coffee, and by day three there is a lifted edge at the bottom corner. The film looked done. It was not.
The conventional wisdom in most online guides focuses heavily on the haze and water pockets as the signal to watch. Those are real, but they are not the most useful indicator. The adhesive can be completely invisible and still incomplete. A film that looks flawless on day two in a warm climate is probably fine to use cautiously by day three or four. The same film installed in January in a humid climate might look just as clear and still be days away from a reliable bond.
The more useful frame is this: treat the installer's specific wait time as a minimum, not a suggestion. Generic guides give ranges because they have to account for every climate and film type. Your installer knows the film they used, the conditions in their shop, and the weather you are driving into. That specific guidance is worth more than any table.
One thing that does not get enough attention is the EV problem. Frameless windows on Teslas and other electric vehicles lower slightly every time you open the door. Most EV owners do not know this happens. During the first 72 hours, that small movement can lift the bottom edge of a film that has not yet bonded. If you drive a Tesla or another EV with frameless glass, minimize door openings for the first three days and tell your installer you have an EV before the job starts so they can account for it.
Tintandwrapscustoms: climate-controlled installs with warranty coverage
If you want the cure period to go as smoothly as the install, the shop environment matters as much as the aftercare steps you follow at home.
Tintandwrapscustoms in Van Nuys offers window tinting in a climate-controlled facility, using nano-ceramic and carbon films backed by manufacturer warranties. The shop has hands-on experience with Tesla and EV frameless windows, which means the install accounts for the specific risks those vehicles create during the first 72 hours of curing. You get a predictable cure window, a clear warranty if something goes wrong, and an installer who knows the difference between a film that looks done and one that actually is. Book your appointment at tintandwrapscustoms.com to get a quote and confirm availability.
Useful sources and further reading
- Window Tint Curing Time: Complete Guide to the Drying Process — Detailed breakdown of surface drying vs adhesive curing, with cure ranges by film type.
- How Long Does It Take to Tint Car Windows? (Ceramic Pro) — Installer-backed guidance on wait times and why manufacturer instructions override generic advice.
- How Long Does Auto Window Tint Take to Cure? (cm3detail) — Covers temperature ranges, humidity effects, EV frameless window risks, and installation quality factors.
- How Long Do Tinted Windows Take to Dry? (The Tint Guy) — Georgia-based installer perspective with seasonal cure time comparisons and winter multipliers.
- How Long Does Window Tint Take to Dry? (Cherry Auto Detail) — Practical breakdown of the drying vs curing distinction and safe cleaning timelines.
- Car Window Tint Drying and Curing Guide (SFG Wraps) — Overview of how climate, film type, and window size affect the full 3–30 day cure range.
- How Long Does Window Tint Take to Cure? (Carteks) — Covers moderate, summer, and winter cure windows with guidance on when to call your shop.
- Window Film Drying Times (DAPAA Tints) — Explains why haze and water pockets are normal and what to watch for as the film settles.
- Cure Time Glossary (Infratint) — Clean definition of cure time and the pressure-sensitive adhesive bonding process.
- How Long Does It Take for Window Tint to Fully Cure? (Tint Depot) — Installer forum answers covering climate variation, film quality, and practical shop advice.
For film-specific cure times, always consult your film manufacturer's documentation or ask your installer directly. Generic ranges are starting points; the adhesive system in your specific film is the final word.