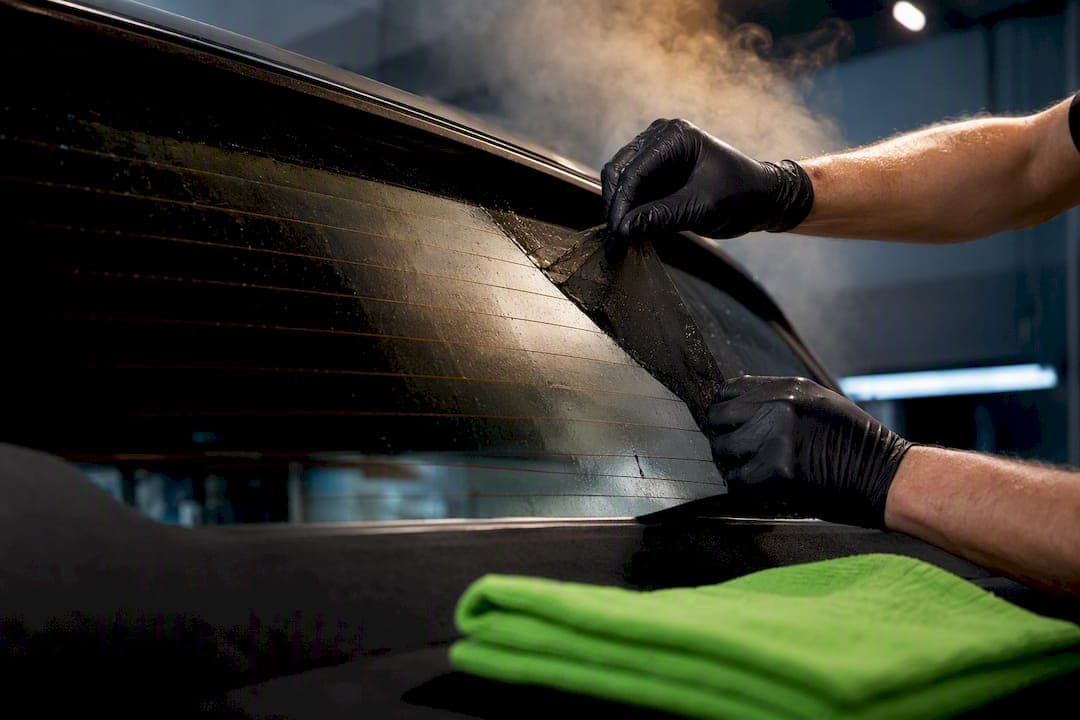
Yes, you can strip tint off a rear window with defroster lines without damaging them, but the method matters more than the effort. Steam plus a low, parallel peel is the safest route, and metal razors or aggressive scraping are the fastest ways to lift the printed grid. Stop immediately if the film tears near a line or you notice raised, whitish specks along the traces. Check your fuses before assuming the defroster itself is dead. If steam and patience aren't your thing, a professional removal is the safer bet.
TL;DR:
- Steam combined with a low, parallel peel is the safest method to remove tint without damaging defroster lines, avoiding aggressive scraping or metal tools.
- Turning off the defroster, checking fuses, and using masking tape and proper tools reduces the risk of tearing the film or harming the conductive traces.
- Ammonia and heat gun methods can be used as a last resort but pose higher risks of lifting traces or causing localized damage if not carefully managed.
- Residual adhesive should be removed with staged cleaners starting with soap and water, then alcohol, and finally citrus-based removers, always moving parallel to the lines.
- Professional removal is recommended for old, brittle film, multiple tears, or in cold climates, since it ensures safer, more precise results with proper equipment and warranty support.
Table of Contents
- What Tools Do You Need for Safe Tint Removal Defroster Lines Work?
- How Do You Steam Off Tint Without Damaging Defroster Lines?
- Are Ammonia and Heat-Gun Methods Safe for Defroster Lines?
- How Do You Clean Adhesive Residue Without Scraping the Grid?
- How Do You Test if Defroster Lines Still Work After Removal?
- When Should You Skip DIY and Call a Professional?
- Why Steam and Patience Beat Force Every Time
- How Tint & Wraps Customs Handles Defroster-Sensitive Removal
- Sources
What Tools Do You Need for Safe Tint Removal Defroster Lines Work?
Your success rate on tint removal defroster lines projects comes down to what's in your hands, not how hard you pull. Rear defroster traces are a thin, fired-on silver-ceramic paste bonded directly to the glass, and that layer is genuinely fragile against scraping and concentrated heat. Skip anything metal.
Stage these before you start:
- Handheld garment steamer (not a kettle or iron)
- Plastic scraper or a plastic trim/razor card — see advice on how to remove wax from plastic for tips on gentle care of plastic trim during tint removal
- Microfiber towels, several
- Isopropyl alcohol and a citrus-based adhesive remover
- Masking tape to protect trim and edges
- Spray bottle, labeled, and a drop cloth for the seat below
Turn the defroster off before you begin, and if you plan to run a continuity check later, disconnect the battery first. Check your fuse box before you touch the glass. If you're using an ammonia-based method later in the job, crack a window and ventilate the cabin.
Pro Tip: Tape a folded towel over the door speaker grille and window switches before steaming. Trapped moisture from a garment steamer finds its way into electronics faster than you'd expect.
How Do You Steam Off Tint Without Damaging Defroster Lines?
Steam is the standard for a reason: it softens the adhesive evenly across the whole panel instead of just where you happen to be scraping, which is why industry guides consistently name it the safest rear-window removal method. Here's the sequence that keeps the grid intact.
- Prep the cabin. Mask the trim, lay a drop cloth, kill the defroster, and confirm the fuse is good before you start.
- Find your starting corner. Use a fingernail or a plastic trim tool to lift a small edge, ideally in a corner away from the thickest cluster of lines.
- Steam before you pull. Hold the steamer two to three inches from the glass and keep it moving constantly over an 8 to 12 inch section. Never park it in one spot.
- Peel low and parallel. Pull the film back on itself at close to a 180-degree angle, hugging the glass rather than yanking up and away. A steep pull angle concentrates force right on the printed lines, while a flat parallel pull spreads it across the film instead.
- Chase the peel with more steam. Work in 8 to 12 inch sections, re-heating just ahead of where you're pulling.
- Handle tears calmly. If the film rips, don't dig at it. Re-steam the torn edge, let it soften another 15 to 20 seconds, then restart the peel from that point.
- Watch for resistance. If the film won't budge after two rounds of steam, or you see the frit lines look raised, whitish, or lifted, stop and reassess before forcing it.
Professionals lean on this parallel-pull habit specifically because pulling straight up at 90 degrees puts direct strain on the conductive traces, while a flat pull sends most of that force into the film itself.
Are Ammonia and Heat-Gun Methods Safe for Defroster Lines?
Steam should be your first move, but two backup methods exist for film that's old, brittle, or bonded with adhesive that won't budge. Both carry more risk, and both demand real caution.
The ammonia and black-bag sun method. Cut black plastic sheeting to match the window, mist the interior glass with diluted ammonia cleaner, then press the black plastic over it and let the car sit in direct sun for an hour or more. The trapped heat and moisture soften even decades-old adhesive. Ventilate the cabin well before and after, mask any exposed trim, and never let ammonia solution pool directly on the defroster traces longer than needed. This one's best reserved for film that's resisted steam entirely.
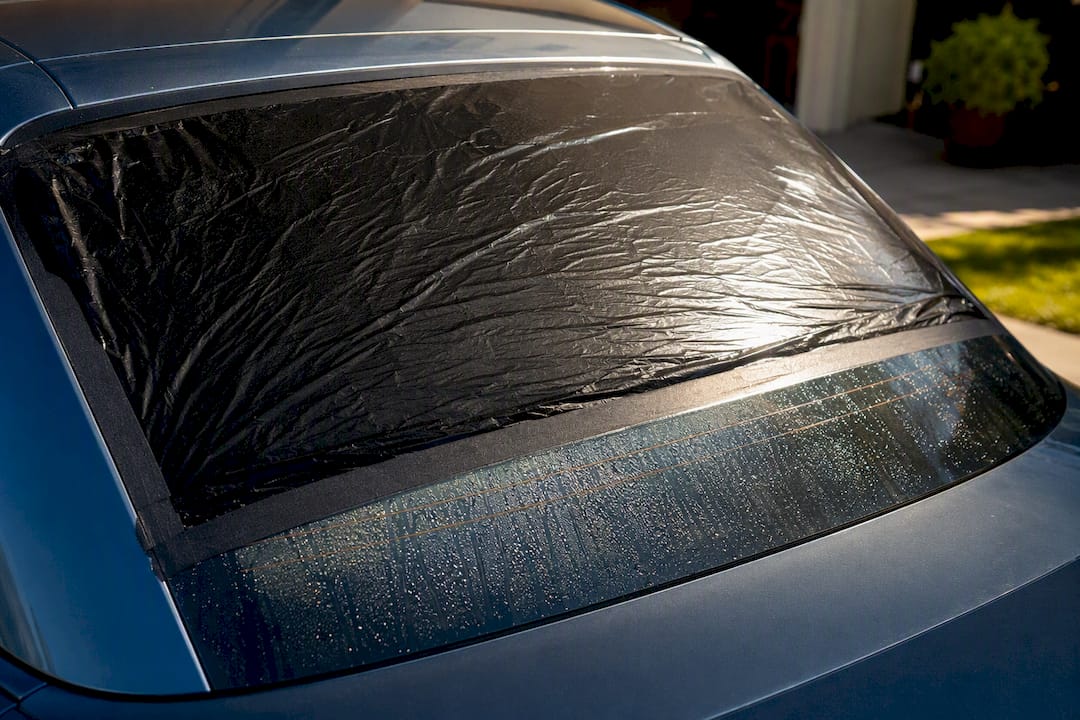
Hair dryer or heat gun as a last resort. Keep it on the lowest heat setting and never let it dwell on one spot, especially anywhere near a printed line. Think of it as a supplement to steaming on a stubborn corner, not a replacement for it.
Both methods trade convenience for control. A garment steamer self-limits its temperature; a heat gun doesn't, and that's exactly why professionals treat it as a backup tool rather than a primary one.
- Ammonia risk: chemical exposure to the grid if left too concentrated or too long
- Heat-gun risk: localized hot spots that can lift the fired-on ceramic paste
- Mitigation for both: constant movement, distance from the glass, and protective masking over trim and electronics
How Do You Clean Adhesive Residue Without Scraping the Grid?
Getting the film off is half the job. The glue left behind is the other half, and this is where a lot of DIY removals damaged. Work through a staged ladder of cleaners, weakest first, and only escalate when the previous step doesn't cut it.
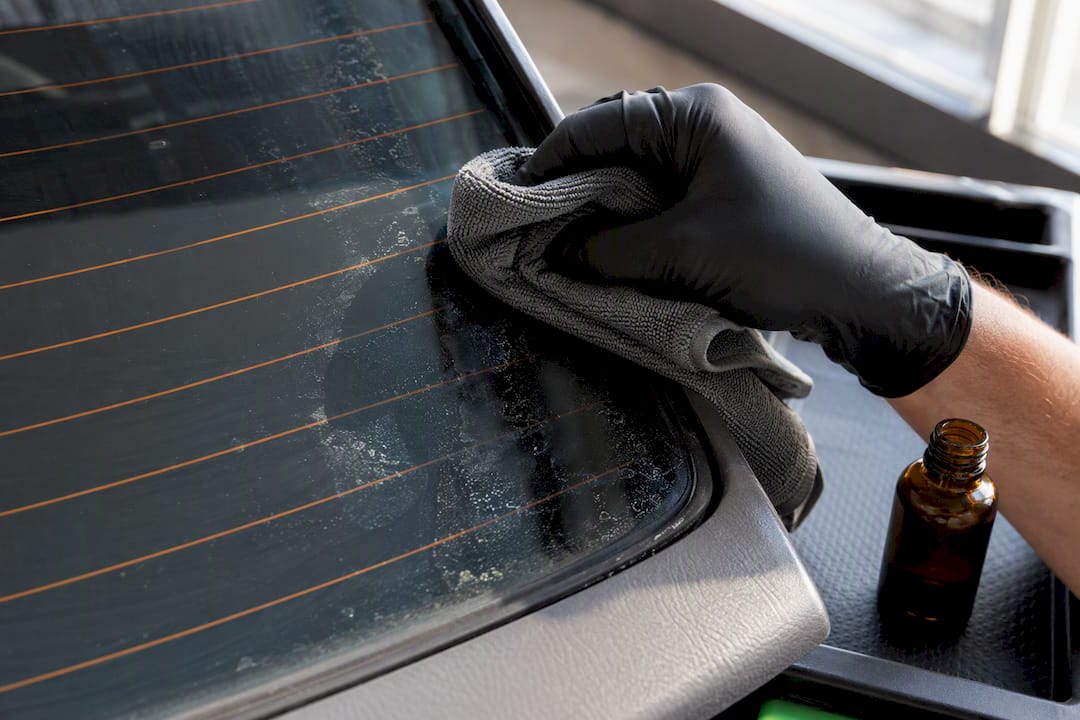
- Warm soapy water loosens the surface layer and is safe to use directly over the lines.
- Isopropyl alcohol on a microfiber towel breaks down what soap leaves behind.
- Citrus-based adhesive remover handles stubborn glue that survives the first two steps, and it's gentler on conductive elements than ammonia formulas.
- Plastic razor or card, only as a last resort, used flat against the glass with minimal pressure.
Wipe parallel to the defroster lines, never across them. A staged cleaning approach that moves from mild to strong before ever picking up a scraper is the single best insurance policy against lifting a weak spot in the frit.
Skip ammonia-based glass cleaners for ongoing maintenance after removal. Ammonia can chemically degrade the conductive material over repeated use, so stick with tint-safe, ammonia-free formulas going forward.
Pro Tip: Let isopropyl alcohol sit on stubborn glue for a full sixty seconds before wiping. Impatience is what sends people reaching for a metal blade.
How Do You Test if Defroster Lines Still Work After Removal?
Once the glass is clean, don't just flip the defroster on and hope. Run a proper check.
Start with a visual inspection under good light, looking for scratches, gaps, or lifted sections in the lines. Next, check the fuse box. A surprising number of "broken defroster" complaints turn out to be nothing more than a blown fuse, and that's a five-minute fix, not a glass replacement. If the fuse is fine, use a multimeter to test continuity across each suspect trace, working from one bus bar to the other.
If you find a genuine break, conductive repair kits can help. Silver-polymer repair compounds are designed to fix breaks up to a few inches long when applied in thin layers over a masked template, following the same process outlined in Frost Fighter's repair kit instructions.
| Damage type | What you'll see | Fix |
|---|---|---|
| Single line break | One trace stays fogged, rest clear | Conductive repair kit, thin coat |
| Multiple breaks | Several traces fogged in different spots | Multiple repairs or professional assessment |
| Bus bar failure | Entire grid stays cold | Requires professional repair or glass replacement |
Repaired traces rarely match the factory grid's original performance, and a damaged main bus bar causes total defroster failure rather than a partial one, which is your signal that a kit alone won't solve it.
When Should You Skip DIY and Call a Professional?
Some situations tip the math firmly toward hiring it out. Watch for these before you commit a weekend to it:
- Film that's old, brittle, or crumbling instead of peeling in sheets
- Multiple tears already present before you've even started
- Heavy adhesive that shrugs off two or three rounds of steam
- Cold-climate driving where a working rear defroster isn't optional
Shops run commercial-grade steamers with more consistent output than a handheld unit, and technicians who do this daily have the parallel-pull technique down to muscle memory. They'll also run a continuity test as a matter of course and back the job with a warranty, which matters if something goes wrong after the fact. Weigh the cost of professional removal against the cost of a defroster repair kit that doesn't fully work, or worse, a full glass replacement.
Why Steam and Patience Beat Force Every Time
Most tint removal failures I see aren't caused by bad film or old adhesive. They're caused by impatience. Someone gets forty percent through a peel, hits resistance, and reaches for a blade instead of the steamer they already have in hand. That single decision is what turns a two-hour job into a four-hundred-dollar glass replacement.
The parallel-pull habit and the steam-first approach aren't shop secrets. They're just slower than what feels natural, and slower is exactly what a printed ceramic grid needs. Precise control of humidity and temperature during removal is a key advantage of a climate-controlled facility, which is a luxury a driveway doesn't offer, but the core technique scales down fine for a careful DIYer with a weekend to spend. Where I'd draw the line is old, brittle film with existing tears. That's when steam alone stops being enough, and forcing it usually costs more than the removal would have.
If you're weighing DIY against paying someone, the honest answer is that the technique matters more than who's holding the steamer. Get that right and the outcome should be the same either way.
— Jake
How Tint & Wraps Customs Handles Defroster-Sensitive Removal
If your rear window's film is old, torn, or fighting back against every round of steam, that's exactly the job our shop is built for. Tint & Wraps Customs is the option when a DIY attempt starts feeling riskier than the film itself, especially for Tesla and EV owners whose glass and defroster setups warrant extra care.
Every removal starts with an inspection, moves through careful work with commercial-grade steamers, and ends with a continuity check on the defroster grid before the car leaves our climate-controlled facility. This process has been successfully handled on many vehicles, and same-day retinting may be available if you're ready for fresh film right away. Warranties often cover the work, providing assurance if something needs a second look. If you'd rather bundle removal with a new install, our guide on tint removal and retint costs breaks down what that typically saves. Ready to get it done right? Book your appointment and bring your vehicle in for a look at the glass before you commit to a method.
Sources
For readers who want the technical backup behind this guide, these are worth bookmarking:
MG Chemicals defroster repair guide
Frost Fighter repair kit product page
Tint & Wraps Customs service page
Tesla window tint install guide
- Remove window tint without damaging the rear defroster — GameSkill
- How to remove window tint safely — Chemical Guys