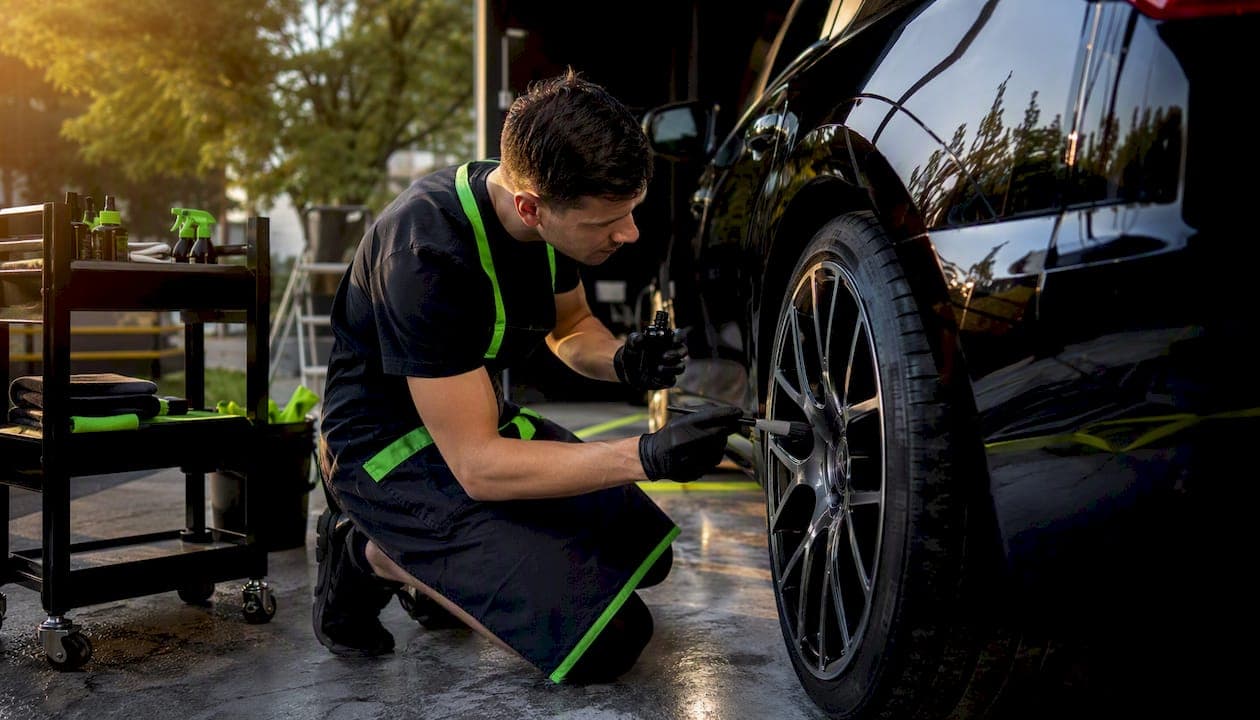
Yes, wheel ceramic coating is worth it for most daily-driven cars and enthusiast builds. A properly applied coating cuts cleaning time significantly compared to wax, resists brake dust and road grime far better than any spray sealant, and lasts several months to a couple of years depending on the product tier and how hard you drive.
A few things to know upfront:
- Durability ranges by tier: professional-grade coatings last 12–18 months; mid-tier DIY kits last 8–12 months; budget options last 4–8 months
- Prep is everything: the most common cause of early failure is inadequate decontamination, not the product itself
- Not all "ceramic" products are equal: spray ceramic sealants and true cured coatings are chemically different, and the gap matters on wheels
If you want a professional install with a manufacturer-backed warranty in the San Fernando Valley, Tintandwrapscustoms handles wheel and caliper coating at their Van Nuys facility. Or keep reading for the full DIY playbook.
Table of Contents
- What is wheel ceramic coating, and how does it differ from spray sealants?
- What are the real benefits of coating your wheels?
- Which wheel finishes can you coat, and what should you check first?
- What are the downsides and limits of wheel ceramic coatings?
- DIY vs professional installation: which one makes sense for you?
- How to apply wheel ceramic coating: the step-by-step process
- How to clean and maintain coated wheels
- How long does wheel ceramic coating last, and what does it cost?
- Professional wheel coating at Tintandwrapscustoms in Van Nuys
- Key Takeaways
- Why most wheel coating advice misses the point
- Further reading and manufacturer resources
What is wheel ceramic coating, and how does it differ from spray sealants?
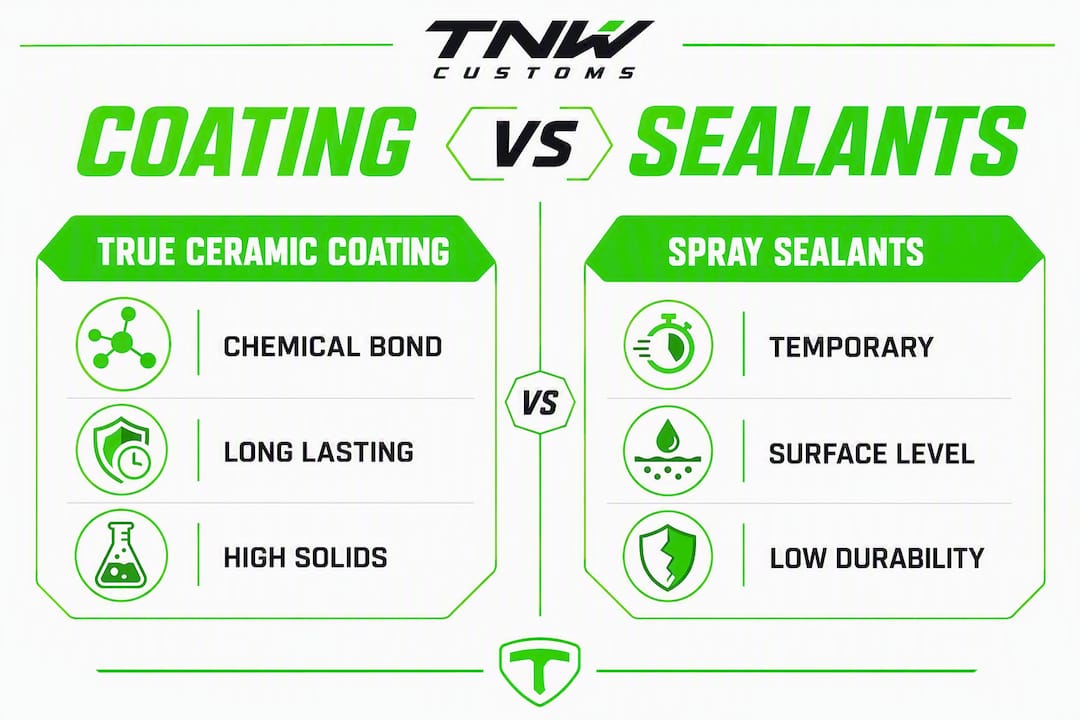
A wheel ceramic coating is an inorganic polymer, typically SiO2-based, that chemically bonds to the wheel surface rather than sitting on top of it. Once cured, it forms a hard, semi-permanent lattice that repels water, brake dust, and road contamination. The bond is not mechanical like wax — it is chemical, which is why it lasts months instead of weeks.
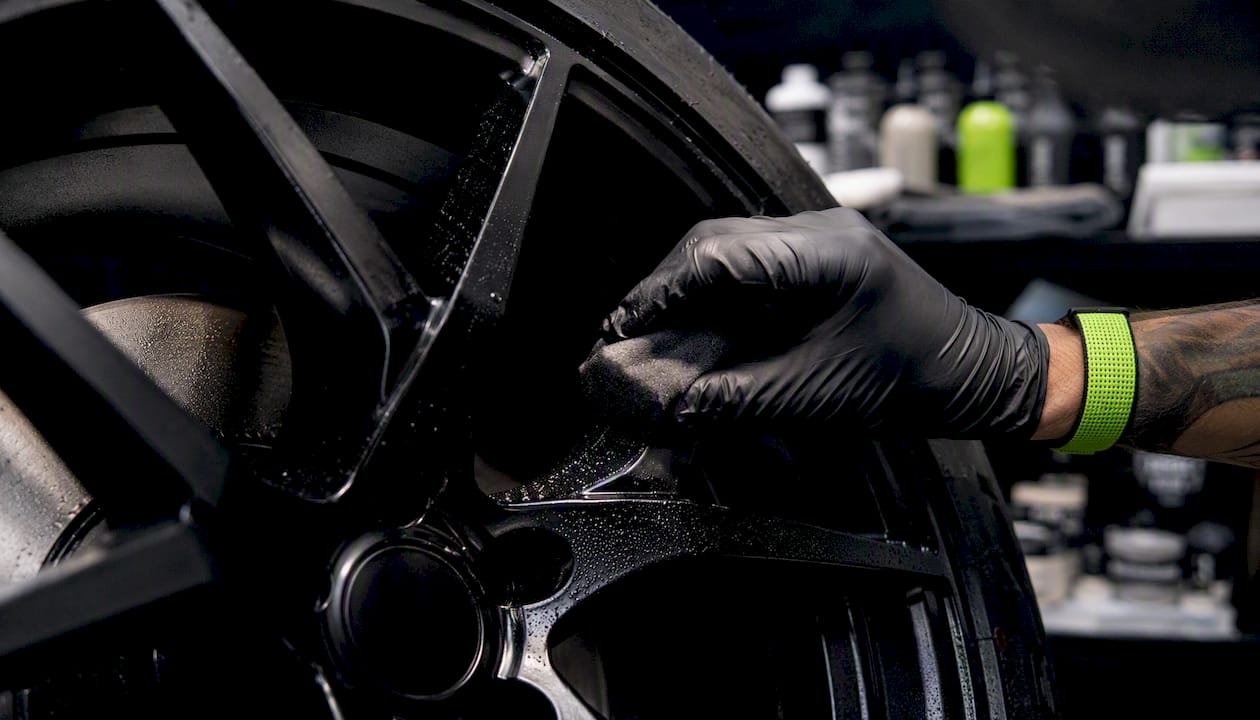
The confusion comes from the spray-on "ceramic" products sold at auto parts stores. Those deliver temporary hydrophobic behavior, but they are chemically and thermally far less robust than a cured inorganic polymer coating. On wheels specifically, that gap is significant. Wheels can reach high temperatures under heavy braking. A spray sealant degrades quickly at those temperatures. A true wheel-specific coating, formulated with higher solids content and heat-stable chemistry, maintains its lattice integrity through repeated heat cycles.
High-solids formulations, some listing 60–70% solids content, are explicitly designed for wheels because that denser lattice resists brake dust and heat better than anything low-solids can offer.
| Feature | True wheel ceramic coating | Spray ceramic sealant |
|---|---|---|
| Bond type | Chemical (semi-permanent) | Mechanical (sits on surface) |
| Heat tolerance | High (designed to withstand brake-heat cycling) | Low (degrades under repeated heat) |
| Durability | varies widely depending on tier | Weeks to 2–3 months |
| Solids content | High (often 60–70%) | Low |
| Skill required | Moderate to high | Minimal |
| Maintenance | pH-neutral wash, periodic topper | Reapply frequently |
What are the real benefits of coating your wheels?
The most immediate payoff is cleaning time. Coated wheels shed brake dust and road grime instead of absorbing it, which means a weekly rinse replaces the scrubbing session most owners dread. Over a full year of ownership, that reduction in cleaning frequency also cuts product consumption and water use — a practical argument for anyone who details their own car regularly.
Beyond time savings, the core benefits break down like this:
- Brake-dust release: coated surfaces don't let iron particles embed, so dust wipes off rather than baking on
- Hydrophobic behavior: water beads and sheets off, carrying loose contamination with it
- Chemical resistance: the coating handles road salt, mild wheel cleaners, and environmental fallout better than bare paint or wax
- Appearance: gloss is enhanced and stays consistent longer between washes
- Finish preservation: less aggressive cleaning means less wear on the wheel's original surface over time
The use case shapes the value. A daily commuter in a city with salted winter roads gets outsized benefit from the chemical resistance. A show car owner cares more about gloss depth and the ability to maintain a spotless look with minimal effort. Multi-spoke and mesh designs, where brake dust hides in every crevice, see some of the biggest cleaning-time improvements. Track-day drivers benefit too, though they should expect shorter coating life given the extreme heat cycles involved.
Experts frame ceramic wheel coatings as a value-over-time investment precisely because the savings compound. Fewer harsh chemicals, less scrubbing, and less wear on the finish add up across a multi-year ownership period.
Which wheel finishes can you coat, and what should you check first?
Most production wheels are compatible with ceramic coatings, but the finish type determines how much prep is needed and whether any caveats apply.
- Clear-coated wheels: the most straightforward application. The coating bonds to the clear layer. Polish first if there are swirls or light scratches.
- Factory-painted wheels: compatible when properly decontaminated. Inspect for chips or peeling before coating — the coating won't repair damaged paint.
- Powder-coated wheels: compatible with ceramic coatings when the powder coat is fully cured and in good condition. Avoid coating over a powder coat that is flaking or chalking.
- Anodized wheels: generally compatible, but test a small, inconspicuous area first. Some anodized finishes are porous and may absorb the coating unevenly.
- Polished or raw aluminum: proceed carefully. Polished aluminum can show reduced reflectivity after coating, and some products may slightly alter the mirror finish. Test a small area and confirm with the wheel manufacturer before proceeding.
- Chrome-plated wheels: most ceramic coatings are not recommended for chrome. The surface is non-porous and the coating has little to bond to. Consult the product manufacturer directly.
The rule for any specialty finish: check the wheel manufacturer's care guidelines and test a 2-inch section in a hidden area before committing to a full application. If the finish is under warranty, a coating may void it.
What are the downsides and limits of wheel ceramic coatings?
Ceramic coating is not a force field. Setting the right expectations upfront prevents disappointment later.
- Not scratch-proof: the coating adds hardness, but a curb rash or gravel impact will still damage the wheel surface underneath
- Heat cycling on track: aggressive track use and repeated heavy braking degrade coatings faster. Heavy use can cut expected lifespan by 30–50%
- High-spot risk: if the product flashes (begins to cure) before you wipe it level, you get raised, hazy spots that are extremely difficult to remove without abrasive correction
- Chemical sensitivity: high-pH alkaline cleaners and acidic wheel brighteners will strip or degrade the coating. This rules out many popular "spray and rinse" wheel cleaners
- Permanent streaking: miss the flash window on a hot day and the streaks cure into the surface. There is no easy fix
- Not a substitute for prep: coating over contaminated or damaged surfaces locks in the problem rather than solving it
Pro Tip: After the first 30 days, inspect your wheels under direct sunlight or a strong work light. Look for uneven gloss, hazy patches, or areas where water no longer beads. Catching early failure signs at this stage is far easier than addressing them after six months of brake dust accumulation.
DIY vs professional installation: which one makes sense for you?
The honest answer depends on your experience level, your wheels' finish complexity, and whether a warranty matters to you.
DIY makes sense when:
- You have experience with paint decontamination and correction
- Your wheels are clear-coated or powder-coated with no specialty finishes
- You have a clean, shaded workspace and can control temperature and humidity
- You are comfortable working within tight flash-time windows
Hire a professional when:
- Your wheels have polished, anodized, or specialty finishes that require compatibility testing
- You want a manufacturer-backed warranty on the install
- You lack a controlled environment (direct sun, high humidity, and temperature swings all cause application failures)
- You have limited time and want the prep done correctly the first time
Professional detailers emphasize the higher skill ceiling for coatings versus wax: careful prep and correct flash/leveling are the deciding factors between a long-lived install and early failure. That is not a warning against DIY — it is an honest description of what the job requires.
Questions to ask any shop before booking:
- What specific wheel coating product do you use, and what are its solids content and heat tolerance ratings?
- Does the install come with a manufacturer-backed warranty, and what does it cover?
- What is your decontamination process before application?
- Is the coating applied in a climate-controlled environment?
Red flags in DIY kits: vague "up to 5 years" claims with no product specification details, no listed SiO2 percentage, and no flash-time guidance in the instructions. Those are signs of a low-solids spray product marketed as a true coating.
How to apply wheel ceramic coating: the step-by-step process
Budget a full day for four wheels if you are doing this properly. Rushing the prep is the single most reliable way to waste the product.
- Remove wheels from the vehicle (strongly recommended). Working on-car is possible but limits access to inner barrels and makes contamination control harder.
- Degrease and rinse with a pH-neutral wheel cleaner to remove loose brake dust and road grime.
- Iron decontamination: apply an iron remover and let it dwell until it turns purple, indicating dissolved ferrous particles. Rinse thoroughly.
- Clay bar or clay mitt: work across the entire wheel surface to remove embedded contamination the iron remover left behind.
- Tar removal if needed: use a dedicated tar remover on any sticky residue before proceeding.
- Polish if needed: if the wheel has light swirls or oxidation, correct them now. The coating will lock in whatever surface condition it finds.
- IPA wipe-down: a final panel prep wipe with isopropyl alcohol removes any remaining oils or polish residue. This is the last step before coating.
- Apply the coating: work one section at a time (roughly a quarter of the wheel face). Apply a few drops to the applicator block and spread in overlapping passes.
- Watch the flash window: follow the product's specific timing. When the coating begins to flash (you will see a slight rainbow or haze), wipe it level with a clean microfiber. Do not wait too long.
- Cure time: most products require 24–48 hours before the wheel gets wet and 5–7 days before full chemical resistance is achieved. Check your product's spec sheet.
- First drive precautions: avoid car washes, rain, and heavy braking for the first 48–72 hours.
Pro Tip: Work in a shaded area between 60–80°F. High temperatures shorten the flash window dramatically, sometimes to under a minute. If you are working in summer heat, do this in the early morning or move indoors.
Safety notes: work in a ventilated space, wear nitrile gloves throughout, and avoid touching your face. Most coating products contain solvents that irritate skin and mucous membranes.
How to clean and maintain coated wheels
The coating does the heavy lifting, but the wrong cleaner will strip it faster than brake dust ever could.
Do:
- Rinse weekly with plain water to remove loose dust before it bakes on
- Wash monthly with a pH-neutral car shampoo and a soft wheel brush or microfiber mitt
- Apply a ceramic topper or spray sealant every 2–3 months to refresh hydrophobic properties
- Run a dedicated iron decontamination spray quarterly to dissolve any ferrous particles that have accumulated
Don't:
- Use acidic wheel brighteners or high-alkaline "spray and rinse" wheel cleaners — these degrade the coating bond
- Use stiff-bristle brushes that can introduce micro-scratches into the coating surface
- Let brake dust sit for weeks between washes; even a coated wheel benefits from regular attention
- Use automatic car wash brushes on coated wheels
Spotting wear: when water stops beading and starts sheeting flat, the hydrophobic layer is thinning. A ceramic topper can extend the life at this stage. When you see dull patches, uneven gloss, or areas where contamination is sticking again, it is time to assess whether a full recoat is needed. A light polish and fresh application is the correct fix, not adding more coating over a degraded layer.
How long does wheel ceramic coating last, and what does it cost?
Lifespan depends on product tier, driving conditions, and maintenance discipline. Track use and aggressive braking can cut expected life by 30–50%, so a professional-grade coating rated for 18 months on a daily driver might last 9–12 months on a car that sees autocross events regularly.
| Product tier | Expected lifespan | Typical cost | Best for |
|---|---|---|---|
| Professional-grade install | 12–18 months | — | Complex finishes, warranty needed, best prep |
| Mid-tier DIY kit | 8–12 months | — | Experienced detailers, simple finishes |
| Budget DIY product | 4–8 months | — | Low-stakes application, learning the process |
For a deeper look at how professional coating costs break down across different services, the ceramic coating cost guide covers what vehicle owners should expect to pay and why.
Annualized, the math usually favors a mid-tier or professional coating over repeated wax applications. Wax on wheels typically lasts 4–8 weeks before brake heat and road contamination degrade it. At that replacement cadence, the product cost and time investment add up quickly. A coating that runs 12 months with minimal maintenance is cheaper per month than wax when you factor in the reduced cleaning frequency and lower product consumption.
Professional wheel coating at Tintandwrapscustoms in Van Nuys
Tintandwrapscustoms performs wheel and caliper ceramic coating at their Van Nuys facility, with every install done in a climate-controlled environment that eliminates the temperature and humidity variables that cause DIY failures. The process includes full iron decontamination, clay treatment, and a panel prep wipe before any product touches the wheel, so the coating bonds to a genuinely clean surface rather than a surface that just looks clean.
Every professional install comes with a manufacturer-backed warranty, and the shop has protected over 1,000 vehicles with a consistent 5-star rating from customers across the San Fernando Valley. Before-and-after photos are available for review. For owners with specialty finishes, polished aluminum, or anodized wheels, the team assesses compatibility before committing to a product, which is the step most DIYers skip. Understanding what ceramic coating warranties actually cover is worth reading before you book any professional install.
To get a quote or schedule your wheel coating appointment, visit Tintandwrapscustoms.
Key Takeaways
Wheel ceramic coating delivers the best long-term value when applied over a properly decontaminated surface, maintained with pH-neutral products, and matched to the right product tier for your driving habits.
| Point | Details |
|---|---|
| Durability by tier | Professional installs last 12–18 months; mid-tier DIY 8–12 months; budget DIY 4–8 months. |
| Prep determines outcome | Embedded iron and residual oils are the leading cause of early failure — decontaminate fully before applying. |
| Spray sealants are not coatings | True wheel coatings chemically bond and tolerate brake-heat cycling; spray products do not. |
| Maintenance is simple but specific | Use pH-neutral soap, avoid acidic brighteners, and run an iron decon quarterly to preserve the bond. |
| Tintandwrapscustoms | Offers professional wheel coating with full decontamination prep, climate-controlled curing, and a manufacturer-backed warranty in Van Nuys, CA. |
Why most wheel coating advice misses the point
The conversation around wheel ceramic coating tends to focus on the product: which brand, which SiO2 percentage, which hardness rating. That framing puts the emphasis in the wrong place.
The coating is almost never the variable that separates a two-year install from a four-month failure. Prep is. Specifically, the iron decontamination step that most DIY guides mention in passing and most budget-kit instructions skip entirely. Embedded ferrous particles from brake pads and rotors are microscopic and invisible after a normal wash. They sit between the coating and the wheel surface and prevent proper chemical bonding. The coating looks fine for a few weeks, then starts lifting or hazing in patches, and the owner blames the product.
Professionals who do this every day know the real tell is in the iron remover step: if the product turns deep purple quickly and heavily, the wheel was far more contaminated than it appeared. That contamination, left in place, would have killed the coating within months.
The other underappreciated factor is the application environment. Flash times on wheel coatings are narrow, and they get narrower as temperature rises. A 75°F garage gives you a workable window. A 95°F driveway in July can cut that window to under a minute per section. Most high-spot failures are not technique failures — they are environment failures. A climate-controlled shop removes that variable entirely.
If you are confident in your prep process and working in a controlled environment, DIY is a legitimate option. If either of those conditions is uncertain, the cost of a professional install is cheaper than the cost of stripping a botched coating and starting over.
Further reading and manufacturer resources
These sources are worth bookmarking if you want to go deeper on product specifications, application technique, or long-term test data:
- FEYNLAB Wheel & Caliper Ceramic Coating — product specification page listing solids content, heat tolerance ratings, and cure instructions; useful for understanding what a professional-grade formulation looks like
- Pro Detailer's Guide to Wheel Ceramic Coatings — application workflow detail, flash-time guidance, and lighting techniques professionals use to catch high spots before they cure
Always check the manufacturer's cure instructions and warranty terms for the specific product you purchase — application windows, temperature requirements, and warranty conditions vary between formulations and are not interchangeable.