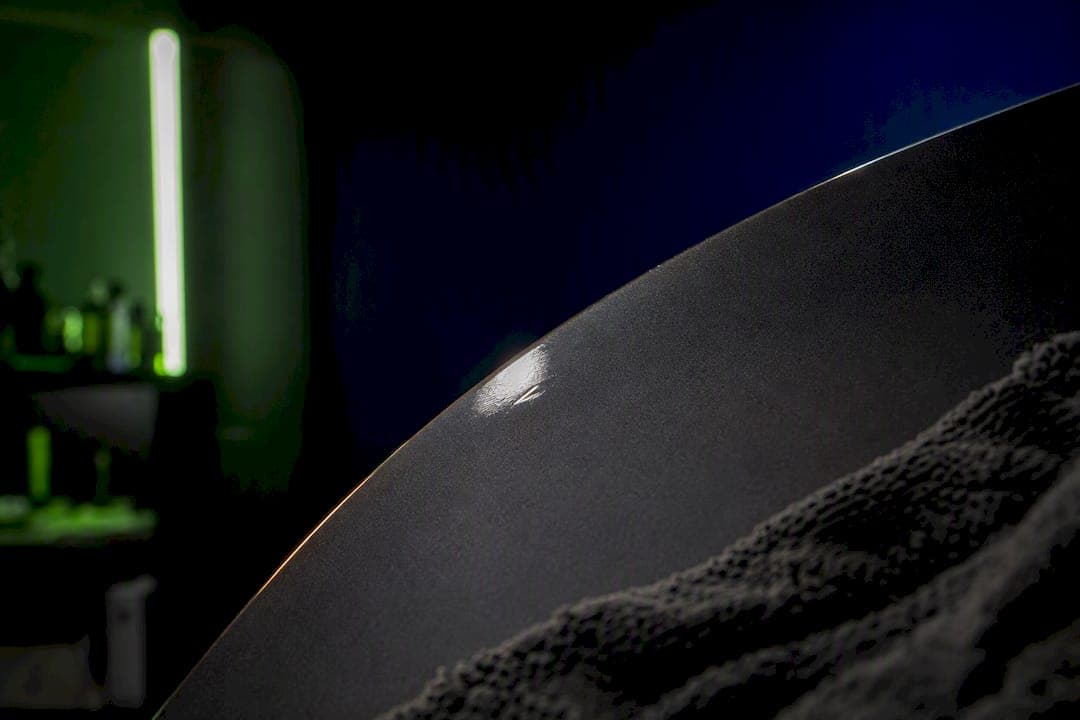
A high spot is a raised, unleveled patch of cured coating that catches light differently than the surrounding panel, usually from excess product or a missed wipe. The fix depends entirely on timing: reactivate with fresh product inside the first hour, hand polish during the soft-cure window, or machine correct and recoat once it's fully cured. If you've already tried polishing and the spot won't budge, or it's on a Tesla or other EV panel with tight tolerances, that's the point to call a professional.
TL;DR:
- High spots are usually caused by excess product left on the panel before leveling, especially in warm conditions with limited working time.
- Inspect high spots under low-angle LED light and confirm their texture through tactile tests like wiping and fingertip feeling before attempting correction.
- Reactivate fresh coating within one hour to level high spots with minimal effort, but full cure after 24 hours requires mechanical polishing.
- When multiple spots persist or appear on Tesla or EV panels with thin coatings, professional correction is recommended.
- Strict adherence to manufacturer flash times and thorough inspection during application significantly reduces high spot formation.
Table of Contents
- How Do You Identify Ceramic Coating High Spots?
- What Causes High Spots in a Ceramic Finish?
- How to Fix Ceramic Coating High Spots by Cure Time
- What Tools and Lighting Do You Need?
- Prevention Checklist for Ceramic Coating Application
- When Should You Call a Professional for Correction?
- An Installer's Take on Getting This Right
- Book a Diagnostic Correction With Tint & Wraps Customs
- Sources
How Do You Identify Ceramic Coating High Spots?
A high spot rarely looks the same twice. Under direct sun, it can flash as a mirror-like ridge or throw off an oily, rainbow-like iridescence that shifts as you move your head. That's actually the least reliable way to check. Shade or a controlled garage light shows the defect's true texture without sunlight washing it out or exaggerating it, which is why detailers lean on low-angle inspection lighting rather than daylight alone.
Tactile testing settles the dirt-versus-defect question fast:
- Run a clean microfiber flat across the panel; dirt or bonded contaminants feel gritty, while a high spot feels smooth but raised.
- Wipe with a quick detail spray. Dirt lifts off; a cured high spot stays put and may even resist gentle rubbing.
- Drag a fingertip (light pressure, clean hands) across the area at an angle to the panel line. A ridge you can feel but not see under normal light is almost always coating, not debris.
Build a simple workflow: inspect the whole car under a handheld LED at a low angle, mark suspect spots with a piece of low-tack tape, then confirm each one with the wipe and touch test before deciding on a fix.
What Causes High Spots in a Ceramic Finish?
Most high spots trace back to one thing: too much product left on the panel before it had a chance to level. Coating starts flashing (evaporating solvents and beginning to cure) within minutes, and once that clock runs out, whatever excess is sitting there gets locked in place.
Temperature and humidity accelerate the problem. Warm panels shorten your working window, sometimes down to under two minutes on a surface near 90°F, which doesn't leave much room for error if you're moving slow.
Common mistakes that create high spots:
- Coating a full hood or door panel in one pass instead of breaking it into smaller sections.
- Continuing to wipe with a towel that's already saturated with product.
- Going back over a spot a second or third time, thinking more buffing will help when it usually just redeposits resin.
- Ignoring the manufacturer's stated flash time because the panel "looked dry."
How to Fix Ceramic Coating High Spots by Cure Time
Every fix method ties to how long the coating has had to cure. Guessing at the stage is how DIYers turn a small defect into a bigger one, so treat this as a ladder: try the least invasive option for your window first, and only escalate if it fails.
0 to 60 minutes: reactivate. If you catch the spot while the coating is still fresh, place a drop or two of the same coating product onto an applicator and work it directly into the high spot, then level immediately with a clean microfiber. The fresh solvent reactivates the cured layer and allows it to re-level before it sets again. Move fast. This window closes quicker than most people expect.
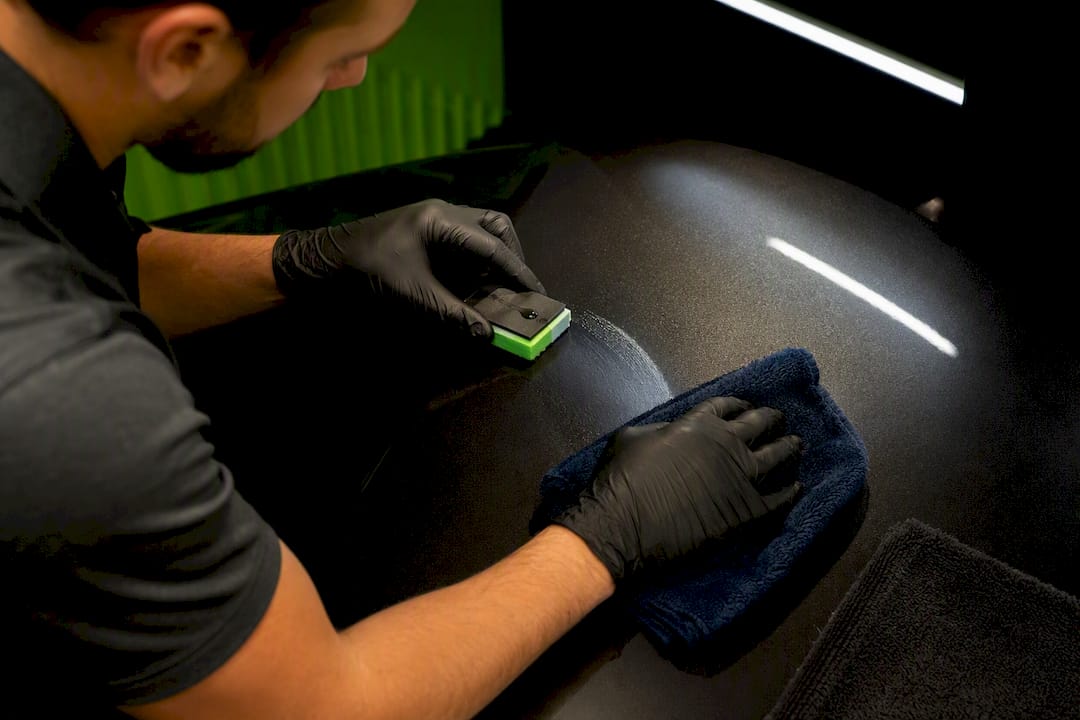
1 to 12 hours: soft-cure hand polish. Once the coating has flashed but hasn't fully hardened, switch to a coating-safe spray polish and a clean microfiber applicator. Use light pressure and short, controlled passes rather than long swipes. This stage responds well to patience and poorly to force.
24+ hours: machine correction. Fully cured high spots need mechanical leveling. Use a dual-action (DA) polisher on a low speed with a fine, coating-safe polish and a soft finishing pad, checking progress in shade every few passes.
- Inspect and mark the spot under low-angle LED light.
- Test on an inconspicuous area first, like a door jamb edge, before touching a visible panel.
- Reactivate (if under an hour), hand polish (if soft-cured), or machine correct (if fully cured).
- Wipe the corrected area with isopropyl alcohol (IPA) to strip residue.
- Recoat the treated spot, because any area where coating was mechanically removed loses its protection until fresh product is reapplied.
Pro Tip: Don't reach for a heavier pad or a stronger compound just because the first polish attempt didn't fully clear the spot. Light, controlled passes with a hand or low-speed DA typically resolve the issue without risking the clear coat underneath — aggressive correction should be a last resort, not a first move.
What Tools and Lighting Do You Need?
A handheld high-CRI LED light, held low and at an angle, catches ridges that flat garage lighting or sunlight tends to hide. Keep one in your kit specifically for inspection, separate from whatever you use to see while you work.
- High-CRI LED inspection light (low-angle use) for finding and confirming defects.
- Plush microfiber towels in at least two grades, one for leveling and one for final buffing.
- Coating-safe spray polish for soft-cure corrections and a finer polish for machine work.
- A DA polisher with soft finishing pads, sized for the panel you're correcting.
- IPA and a clean applicator for panel prep before any recoat.
- A small amount of spare coating product on hand, since a localized recoat is often the last step.
Prevention Checklist for Ceramic Coating Application
Most high spots are avoidable with a tighter process, not better product.
- Work in roughly 2-foot by 2-foot sections and level each one before moving to the next; this single habit prevents the majority of high spots before they form.
- Follow the manufacturer's flash time exactly, even when the panel looks dry sooner.
- Keep the surface between roughly 60 and 75°F. Hotter panels shrink your workable window fast.
- Use the two-towel method: one towel levels the coating, a second does the final buff, and both get flipped or swapped often.
- Replace any applicator or towel the moment it feels saturated instead of stretching its use.
When Should You Call a Professional for Correction?
Call in a shop when you're seeing multiple high spots across several panels, a spot that won't respond to hand polishing, or any defect on an EV like a Tesla, where panel gaps and paint thickness leave less room for error.
- Multiple high spots across more than one or two panels.
- A spot that survives hand polishing and needs machine correction you're not equipped for.
- Tesla or other EV bodywork with thinner factory clear coat.
- Complex panels with tight curves where a DA pad can burn through if handled wrong.
A professional workflow typically starts with the same low-angle diagnostic lighting you'd use at home, then moves to measured machine polishing on the affected zone only, followed by a localized recoat that restores full protection. Shops working in a climate-controlled space with manufacturer-backed warranties and hands-on Tesla/EV experience can restore the finish without voiding coverage elsewhere on the vehicle.
An Installer's Take on Getting This Right
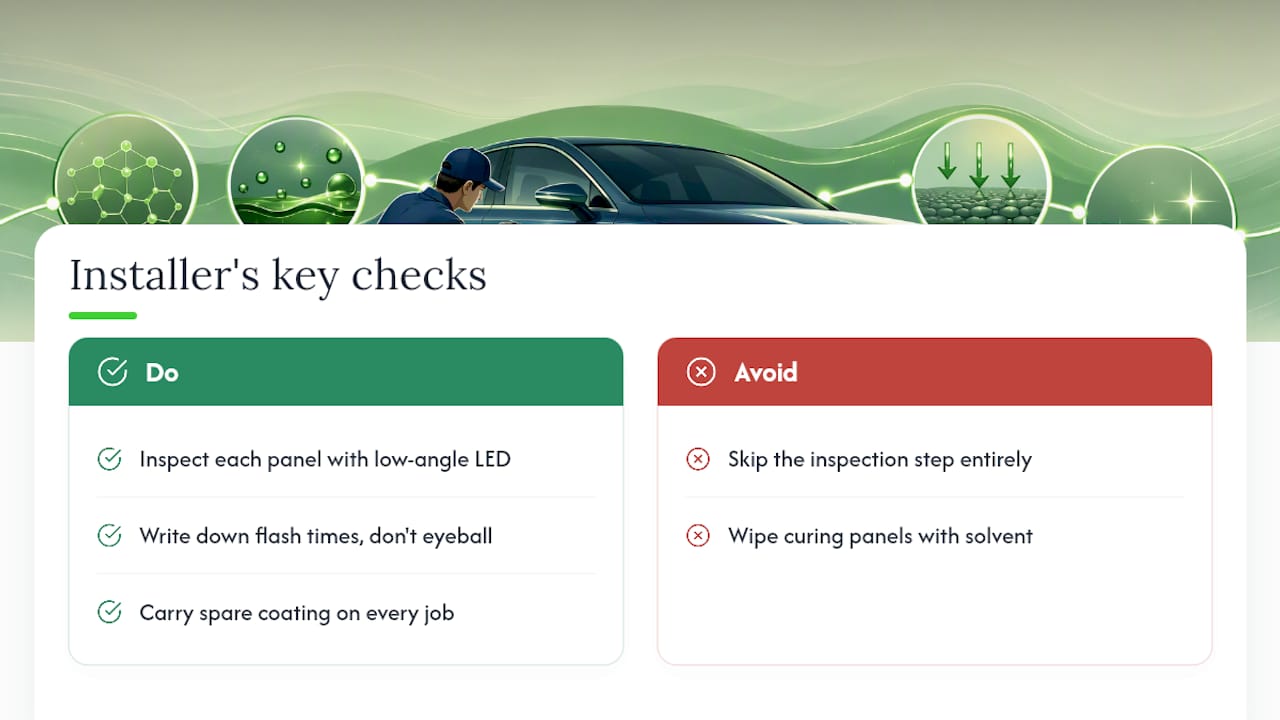
The mistake I see most isn't bad technique. It's skipping the inspection step entirely and assuming a panel is fine because it looked good under shop lights. Check every panel under a low-angle LED before you call the job done, and write down your flash times instead of eyeballing them next time.
Carry a small amount of spare coating on every job. And never wipe a curing panel with a solvent during that critical window. It undoes work you already did right.
— Jake
Book a Diagnostic Correction With Tint & Wraps Customs
If hand polishing and reactivation haven't cleared a stubborn high spot, or you're staring at multiple defects across a Tesla's panels, Tint & Wraps Customs is the direct alternative to guessing your way through it. Our climate-controlled Van Nuys facility runs the same diagnostic lighting and staged correction process outlined above, backed by manufacturer warranties on the coating we reapply after any localized recoat.

We've handled correction and recoat work on more than 1,000 vehicles, with specific experience on EV paint and panel tolerances that DIY tools don't always account for. If a spot has you second-guessing your last DA pass, book a diagnostic correction and get it leveled properly the first time.
Sources
For safe removal techniques beyond hand polishing, see this guide on stripping coating without damaging clear coat. For cost and warranty context around a professional recoat, check our guides on ceramic coating cost and what your warranty covers.
- High spots in your ceramic coating — IGL Coatings blog
- How to Fix Ceramic Coating High Spots — Detail King blog
- How to Fix High Spots or Streaks Left Behind During an Uneven Ceramic Coating Installation — Stealth Window Tint
- Ceramic coating high spots: How to fix — CarFinest